
Brow Lamination στο σπίτι: Αποκτήστε το look σε 5'
Κάθε λίγα χρόνια εμφανίζεται μια νέα τάση που αλλάζει εντελώς τον τρόπο που φροντίζουμε τις βλεφαρίδες και τα φρύδια μας. Τα extensions, το microblading και το lifting των βλεφαρίδων έφεραν επανάσταση στη βιομηχανία της ομορφιάς, ανεβάζοντας τον πήχη σε ό,τι αφορά την καθημερινή μας φροντίδα περιποίησης.
Η πιο πρόσφατη τάση που έχει χτυπήσει την πόρτα μας είναι το brow lamination, ή αλλιώς πλαστικοποίηση- μια διαδικασία παρόμοια με το lifting βλεφαρίδων, κατά την οποία οι τρίχες των φρυδιών βουρτσίζονται και περνούν από «περμανάντ» για να δημιουργήσουν ένα πυκνό και φυσικό look που διαρκεί εβδομάδες.
Συνήθως, η πλαστικοποίηση φρυδιών γίνεται από αισθητικούς στο κομμωτήριο ή σε κέντρα ομορφιάς.
Ευτυχώς, βρήκαμε για σας τον τρόπο να πετύχετε εύκολα το εφέ της πλαστικοποίησης φρυδιών στο σπίτι, σε λίγα μόνο, εύκολα βήματα. Θα χρειαστείτε τέσσερα από τα αγαπημένα μας προϊόντα φρυδιών:
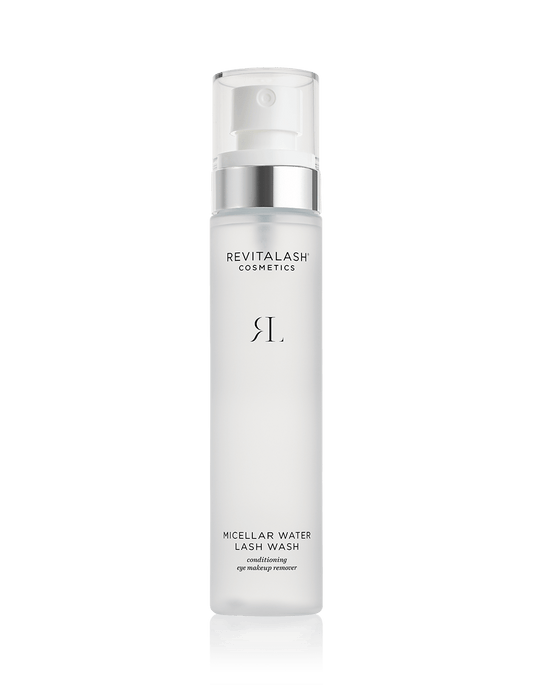
Lash & Brow Masque,
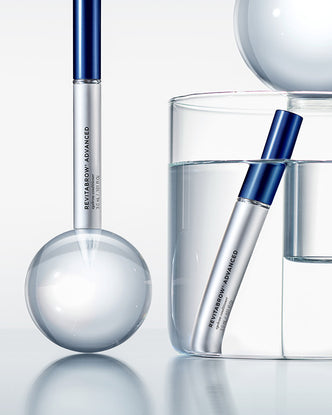
RevitaBrow® Advanced,
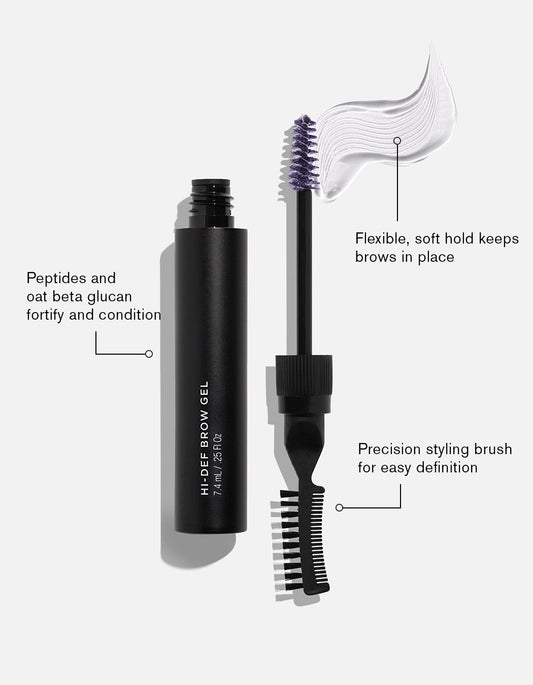
Hi-Def Brow Gel σε διάφανο χρώμα
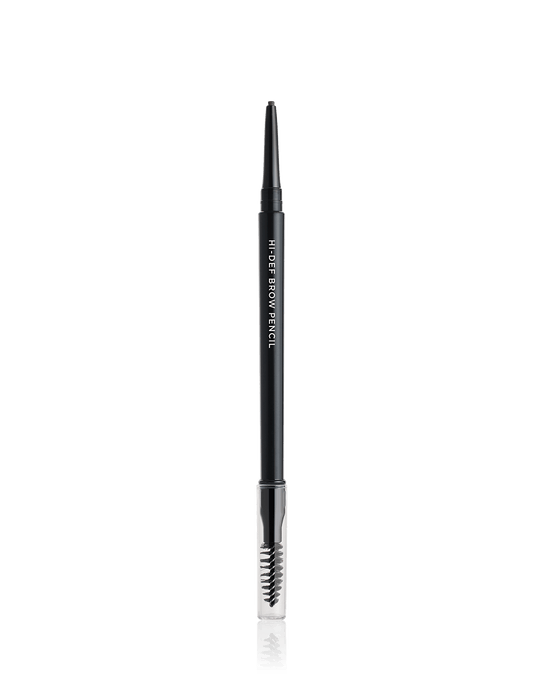
και Hi-Def Brow Pencil.
Δείτε πώς μπορείτε να αποκτήσετε το look:
ΒΗΜΑ 1: ΕΝΥΔΑΤΩΣΗ & ΑΝΑΠΛΑΣΗ
Ξεκινήστε προσφέροντας περιποίηση στα φρύδια σας με μια άμεση έγχυση ενυδατικών, θρεπτικών συστατικών, με τη Lash & Brow Masque. Αυτή η περιποίηση διαρκεί μόλις 15 λεπτά και βοηθά στην ενίσχυση των κατεστραμμένων τριχών για πιο απαλά, πιο λαμπερά, πιο εύκαμπτα φρύδια.
ΒΗΜΑ 2: ΦΡΟΝΤΙΔΑ & ΕΝΔΥΝΑΜΩΣΗ
Τα υγιή, φροντισμένα φρύδια δημιουργούν τη βάση για μία φροντισμένη εμφάνιση. Η ενσωμάτωση ενός ορού φρυδιών, όπως ο RevitaBrow® Advanced, στην καθημερινή σας ρουτίνα θα σας βοηθήσει να θρέψετε και να δυναμώσετε τα φρύδια σας, δημιουργώντας ένα πιο γεμάτο, πιο έντονο look.
ΒΗΜΑ 3: ΣΤΑΘΕΡΟΠΟΙΗΣΗ
Χρησιμοποιήστε το Hi-Def Brow Gel σε διάφανο χρώμα για να βουρτσίσετε τα φρύδια προς τα επάνω, επαναλαμβάνοντας και δομώντας κατά περίπτωση. Το Hi-Def Brow Gel περιλαμβάνει μία φόρμουλα με πεπτίδια και β- γλυκάνη από βρώμη για να δυναμώσει τα φρύδια την ίδια ώρα που σταθεροποιεί, σμιλεύει και καθορίζει.
ΒΗΜΑ 4: BROW LAMINATION
Τοποθετήστε τον δείκτη σας στη βάση των φρυδιών σας, ασκώντας πίεση και οδηγώντας τον προς τα πάνω, ώστε οι τρίχες των φρυδιών να σταθεροποιηθούν και να μείνουν με φορά προς τη σωστή κατεύθυνση. Αφήστε λίγα λεπτά για να στεγνώσει το προϊόν.
ΒΗΜΑ 5: ΣΧΗΜΑ
Χρησιμοποιήστε το μολύβι Hi-Def Brow για να προσθέσετε ένταση και σχήμα. Ξεκινώντας από το φαρδύτερο μέρος του φρυδιού και προχωρώντας προς την άκρη του τόξου, χρησιμοποιήστε ανάλαφρες κινήσεις για να σχηματίσετε πινελιές που θα μοιάζουν με τρίχες, πάντα προς την ίδια φορά με τις τρίχες των φρυδιών σας. Η βιταμίνη Ε που περιέχεται στο μολύβι φρυδιών Hi-Def χαρίζει βαθιά περιποίηση, ενώ η μακράς διάρκειας, πλούσια και λειτουργική του φόρμουλα δημιουργεί έντονη ή φυσική εμφάνιση (ανάλογα με το τι θα επιλέξετε) που διαρκεί από το πρωί έως το βράδυ.
Αυτό είναι! Η απόλυτη εναλλακτική brow lamination για έντονα, όμορφα, γεμάτα, σχηματισμένα φρύδια! Είστε έτοιμοι να τη δοκιμάσετε στο σπίτι;
Για οποιαδήποτε απορία επικοινωνήστε μαζί μας!